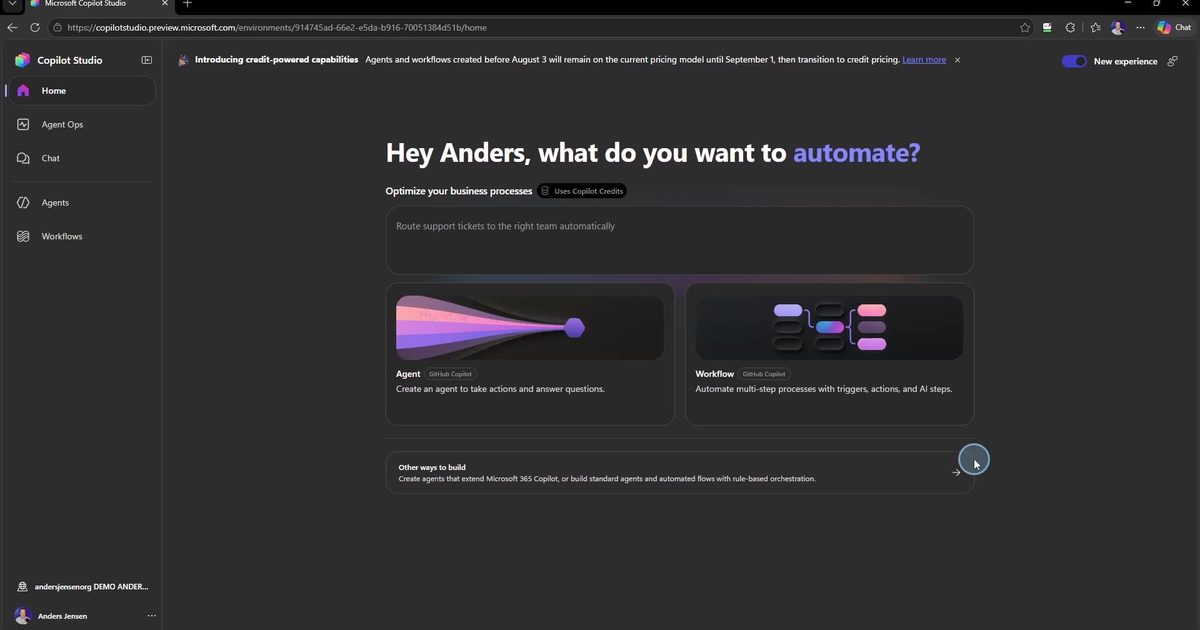
Copilot Cowork does not just appear because you have Microsoft 365 Copilot. The tab is already there in the Copilot app, but click it and you are told you don't have access. Access stays locked until an administrator has enabled usage-based billing and set up a spending policy in the Microsoft 365 admin center. That is the setup you get here, step by step.
In short, Cowork is Microsoft's agentic workspace in the Copilot app: You describe a goal, and Cowork works over time across files and apps with checkpoints along the way. In our company I am the IT administrator, and the pilot group is me and my colleague Stine. The setup below is the one I ran in our own tenant. It takes fifteen minutes of clicking and half an hour of waiting.
What you need
- An admin role that may choose the billing method: Global administrator or Billing administrator. An AI administrator can create spending policies and set limits, but not choose or change the billing method.
- A Microsoft 365 Copilot license for the users. At the time of writing, the license is the entry ticket, but the actual Cowork consumption is not included in it. It is billed separately in Copilot Credits.
- A payment source for credits: Prepaid capacity packs (that is what we use) or an Azure subscription for pay-as-you-go, which can be created along the way in the flow.
Step 1: Create a security group as your pilot group
Spending policies can only target groups, not individuals. If you want to control exactly who gets Cowork, they need to go into a security group first. That group doubles as your pilot group, so you don't open up to the whole organization from day one.
- Go to the Microsoft 365 admin center.
- Select "Teams & groups" in the left-hand menu and open "Active teams & groups".
- Switch to the "Security groups" tab and select "Add a security group".
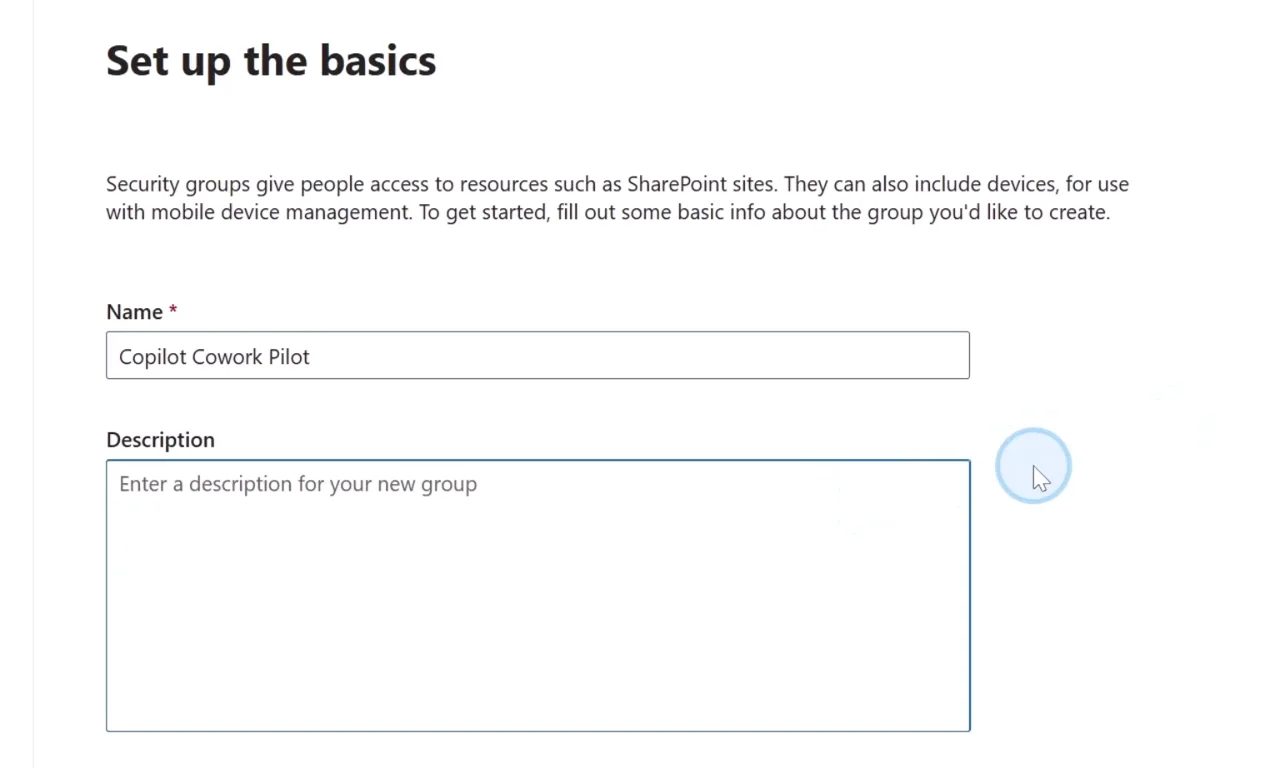
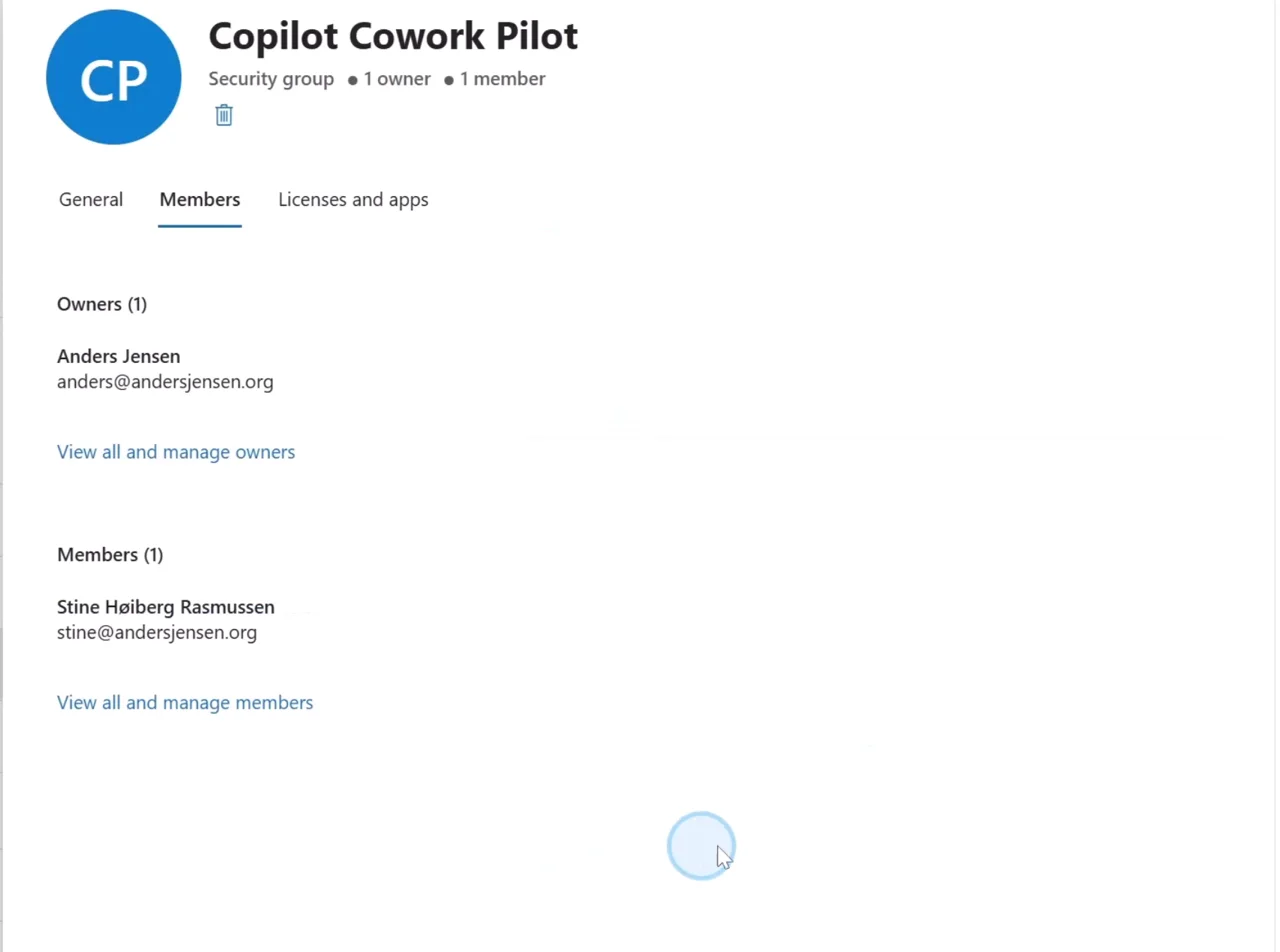
- Give the group a name, for example "Copilot Cowork Pilot", and click through the "Next" steps. Leave the role field on the Settings page off: The group is only used to control access. Finish with "Create group".
- Open the new group and add an owner (yourself) and the members who should join the pilot.
Step 2: Enable usage-based billing
- Go to "Copilot" in the left-hand menu and select "Cost management".
- Click "Get started" under "Unlock AI experiences enabled by usage-based billing".
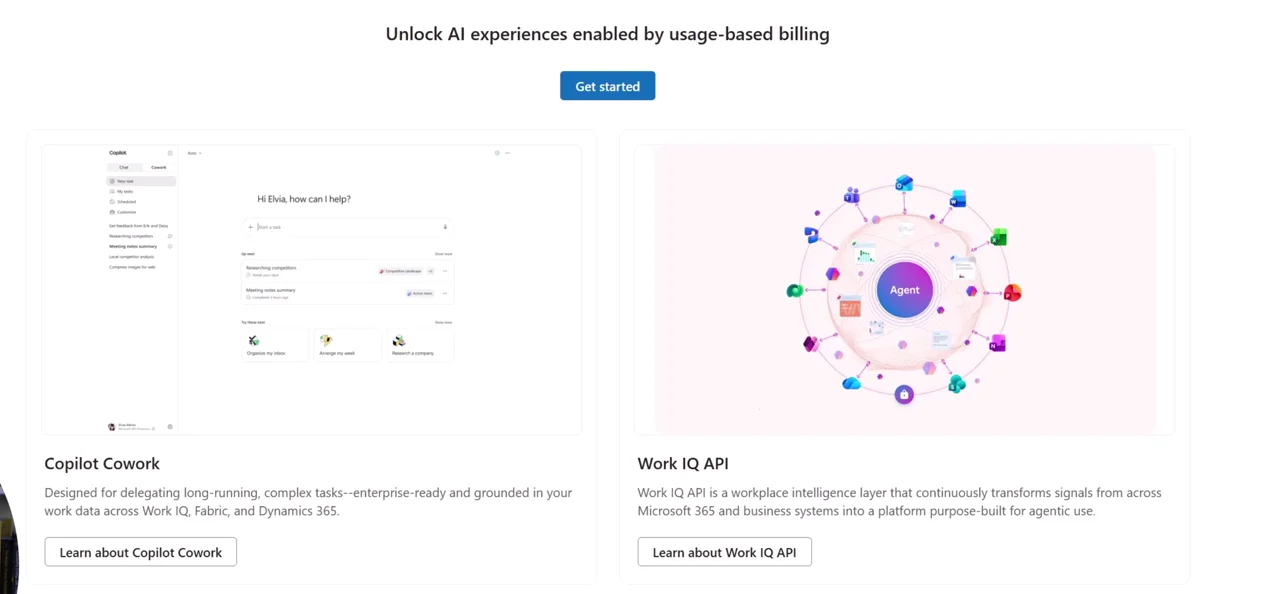
- Choose the billing method: Capacity packs if you have bought them (like us), otherwise pay-as-you-go via an Azure subscription.
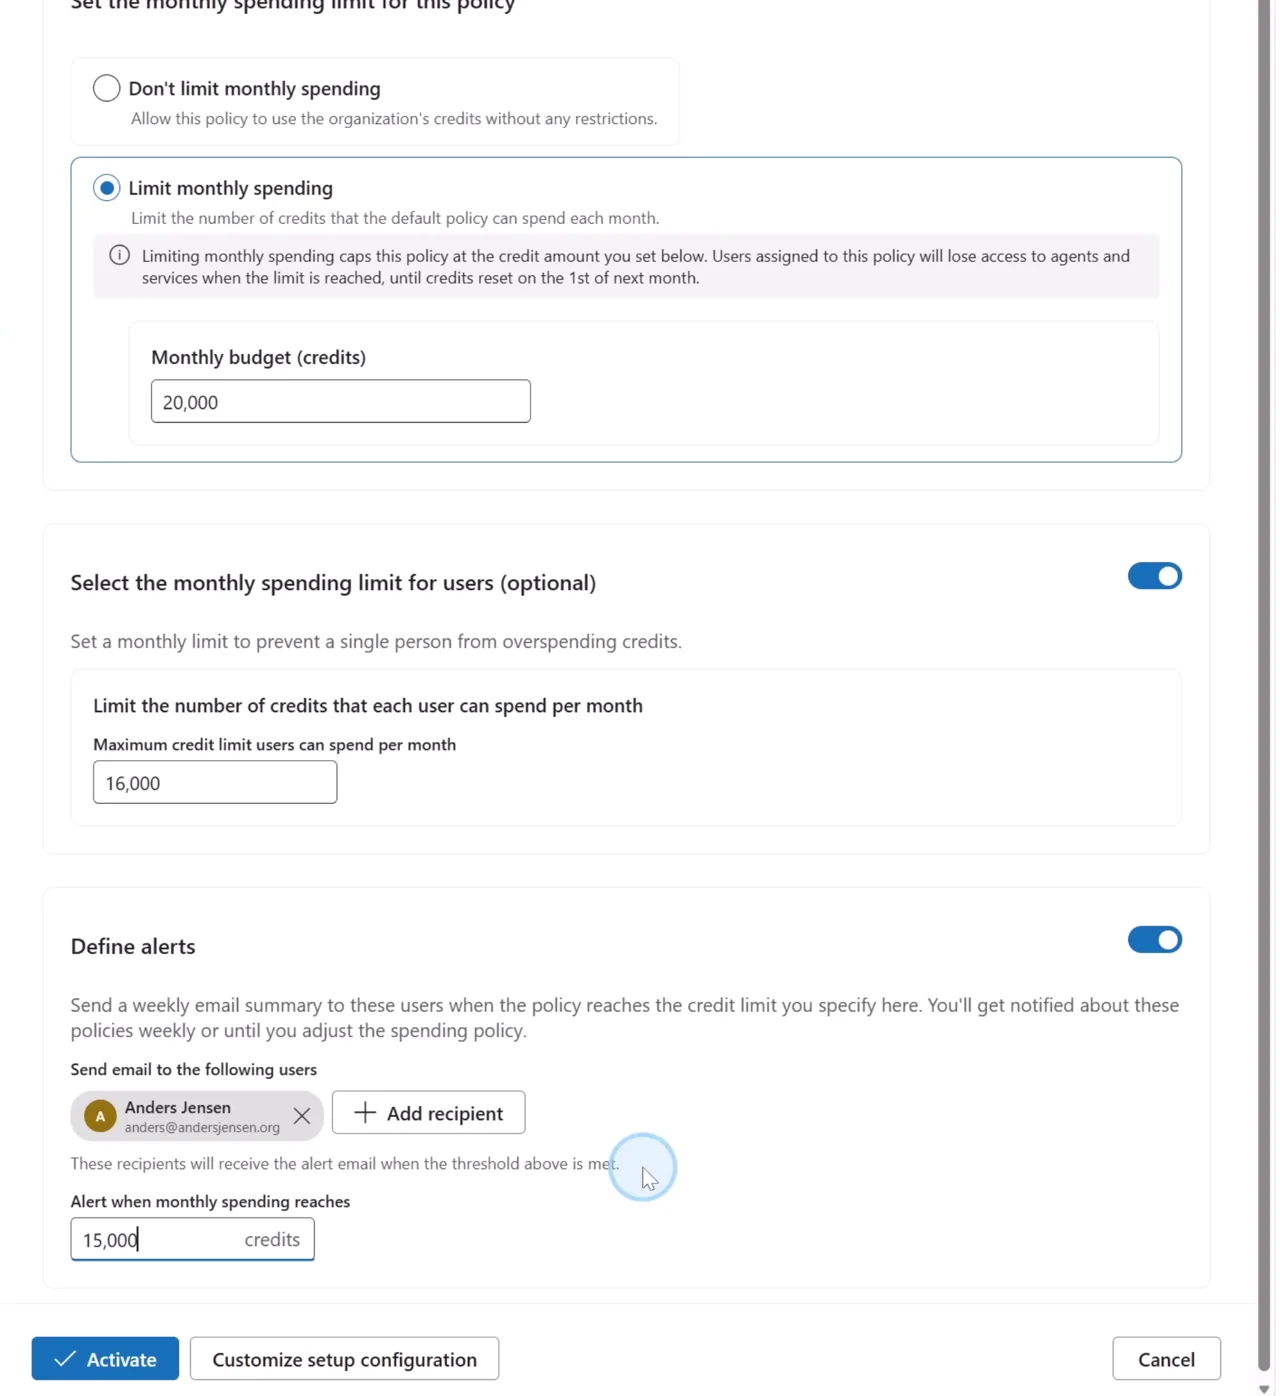
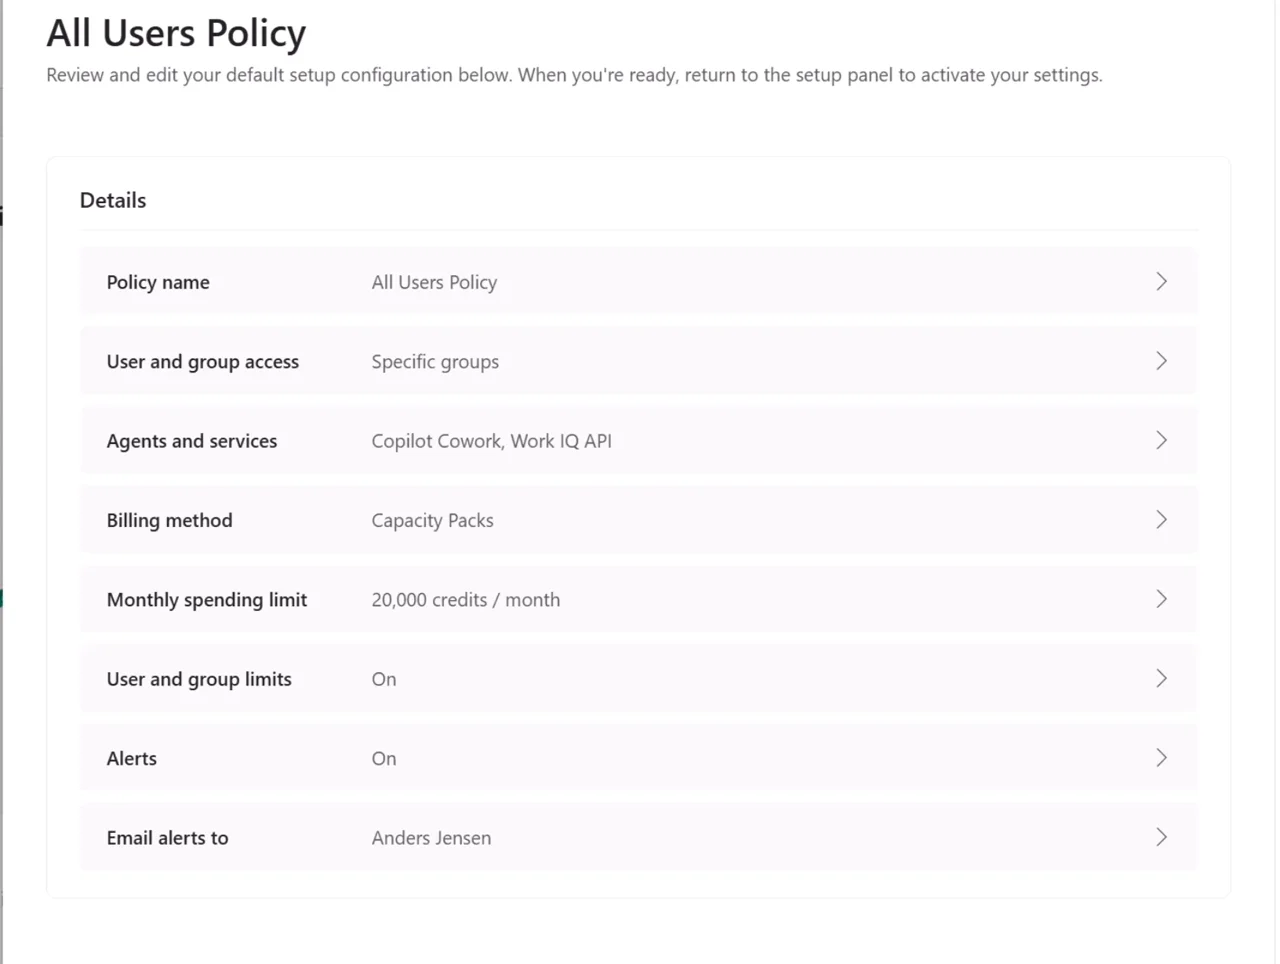
- Set a monthly spending limit for the policy. Ours: 20,000 credits.
- Set a monthly limit per user. It is optional, but do it: It prevents one user from burning through the whole pool. Ours: 16,000 credits.
- Define an alert, for example at 15,000 credits. The email is sent the first time the threshold is hit and then weekly until the month resets.
Step 3: Restrict access to the pilot group
The default setup applies to the whole organization. This is where many people end up opening too wide.
- Select "Customize setup configuration" instead of activating directly.
- Open "User and group access", switch from "All users" to "Specific groups", and tick your pilot group. Save with "Save changes".
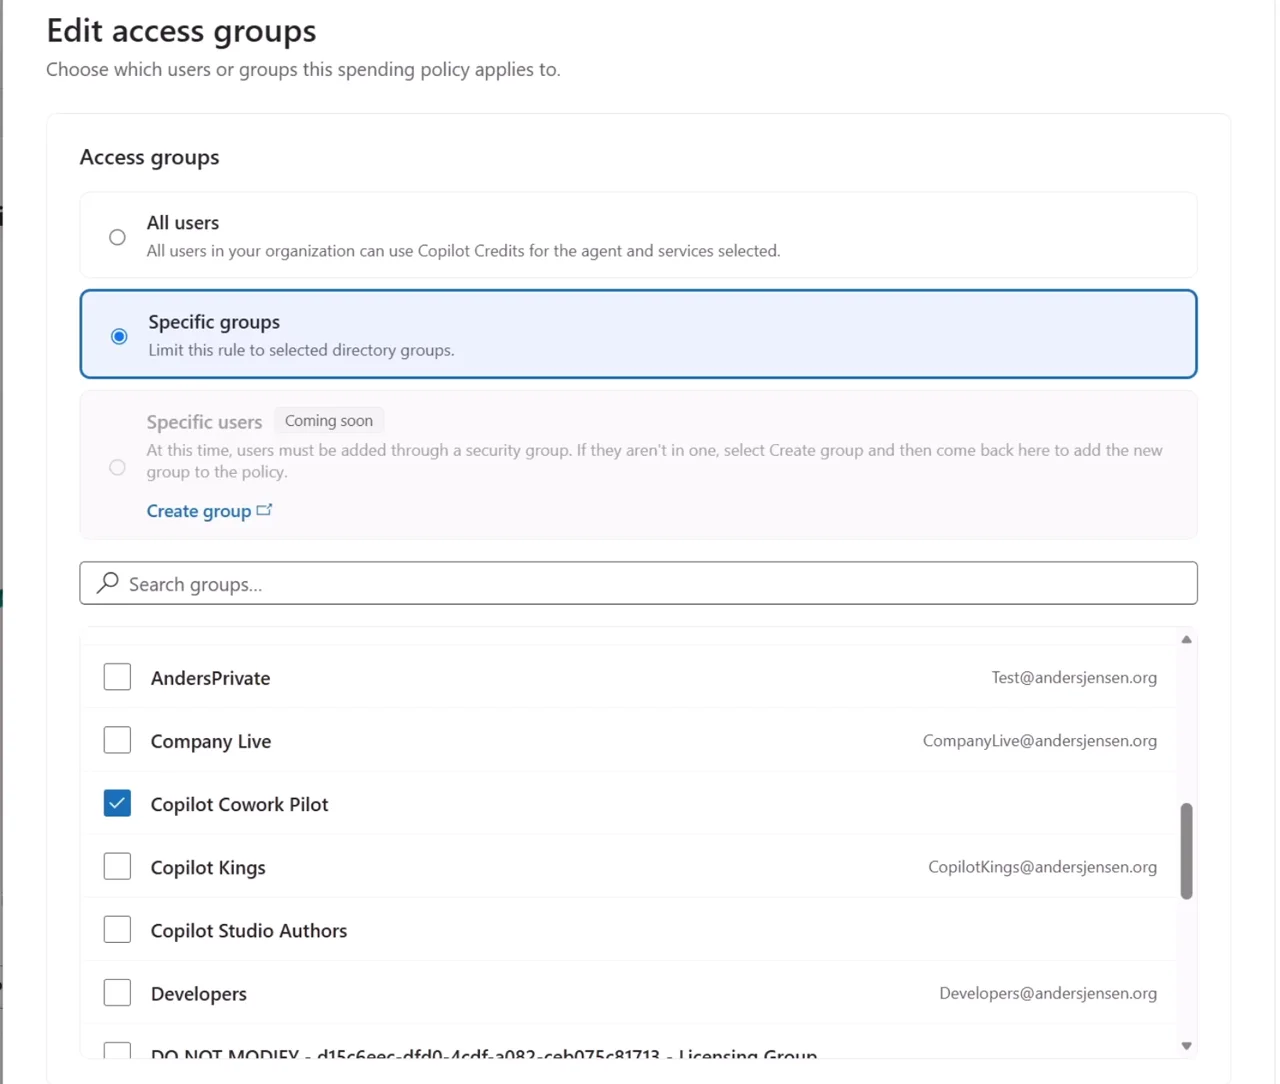
- Check the summary: "User and group access" should now say "Specific groups".
- Click "Activate".
Verify that it works
It takes a little while before the activation kicks in. For us it took around 20-30 minutes. Then open Microsoft 365 Copilot and select Cowork: The tab is now unlocked for the members of the pilot group.
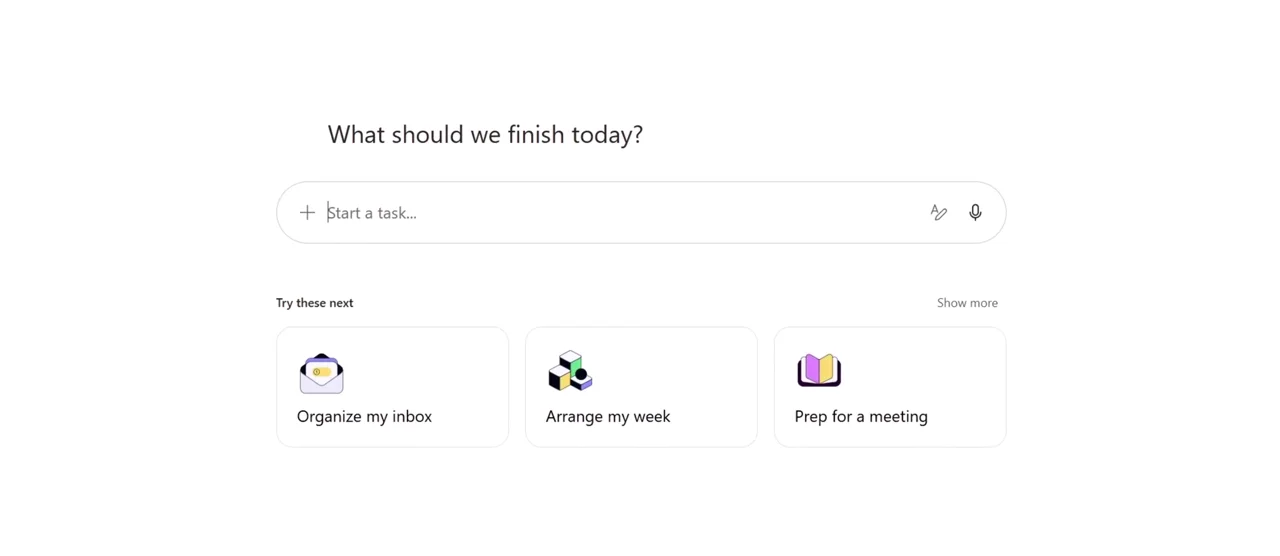
Check the other direction too: A user outside the group should still meet a locked tab. After the first working days you can see the consumption under Cost management → "Consumption", updated roughly every two hours, broken down per user, group, and service.
Common pitfalls
- The billing method is locked after creation. If you want to change it on a spending policy, the policy has to be deleted and recreated. Choose right the first time.
- The limits are enforced hard. Users who hit their credit limit lose access for the rest of the month, until it resets on the 1st. Don't set the pilot's limits so low that people get locked out in the middle of a test.
- Individuals can only be added via security groups. "Specific users" is marked "coming soon" in the admin center at the time of writing. If a new colleague joins the pilot, you add them to the group, not to the policy.
- Discovery without billing creates requests. If Cowork is visible to users before billing is enabled, they can send access requests, which land with you under "Credit requests". Decide in advance how you will handle them.
- The waiting time. Expect up to half an hour before access kicks in. It looks like an error, but it isn't.
Our recommendation: Limits first, access second
Cowork is the first place where the Copilot bill follows consumption instead of the number of licenses. That changes the job for IT: You are not just deciding who gets access, but how much they may use, and what happens when they hit the limit. The same consumption model applies to agents that use shared tenant data via Copilot Chat, by the way, and whether you should enable them has its own article: Should You Enable Agents in Microsoft 365 Copilot?
That is why the order in this guide is not random: Set the spending limit, the per-user limit, and the alert before you open up access, and only open up for a pilot group. Run it for a couple of weeks, look at the Consumption tab, and adjust the limits to the actual usage before you roll out wider. It is much easier to raise a limit than to explain a surprising bill.
You can find Microsoft's official documentation here: Managing AI experiences enabled by usage-based billing.
Usage-based Copilot billing is still new, and we get a little wiser every time we test it in our own tenant. That knowledge is what we share in our community I Love Automation.